
How to add outbound calling to your telephone number
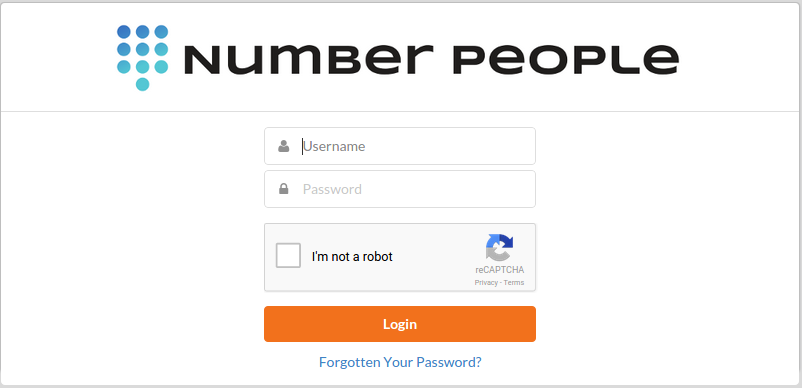
Step 1) Sign into your account via the online portal
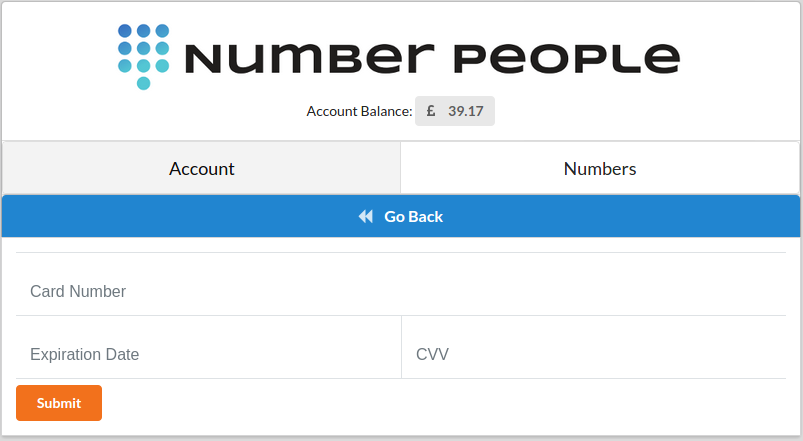
Step 2) Ensure you have Auto Top up active on your account – Click on Top up, then select auto top up, click on Change payment method. If no payment method set up enter the details and follow on-screen instructions.
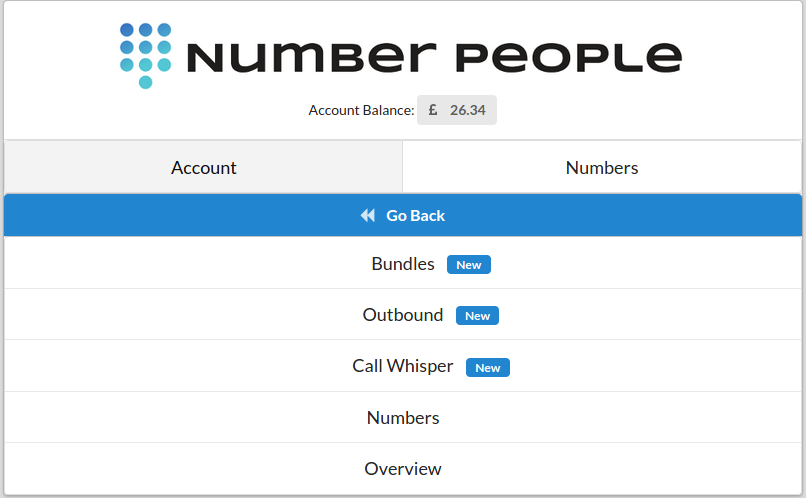
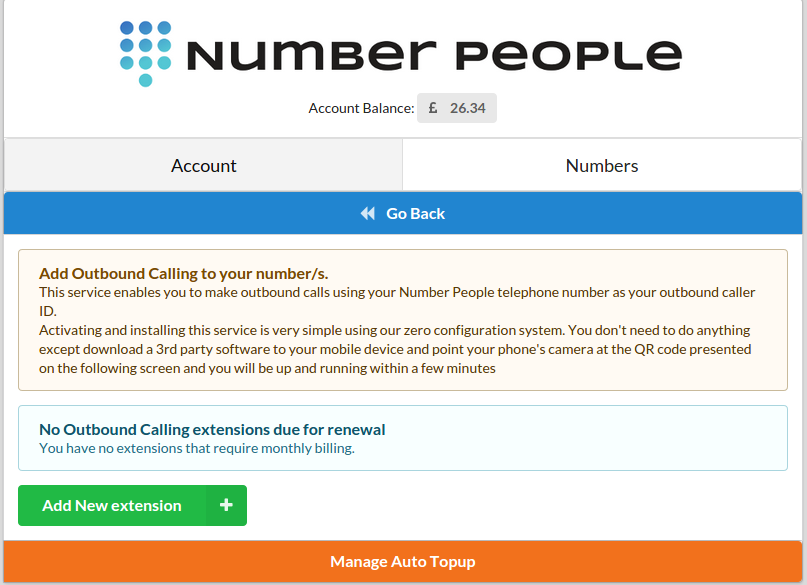
Step 3) Once you have ensured Auto top up is active, click on Account then select Add/Manage Services, then click on “Outbound”
Step 4) Here you will then see a summary page, if you want to add a new outbound calling extension, click on the green button labelled “Add new extension”
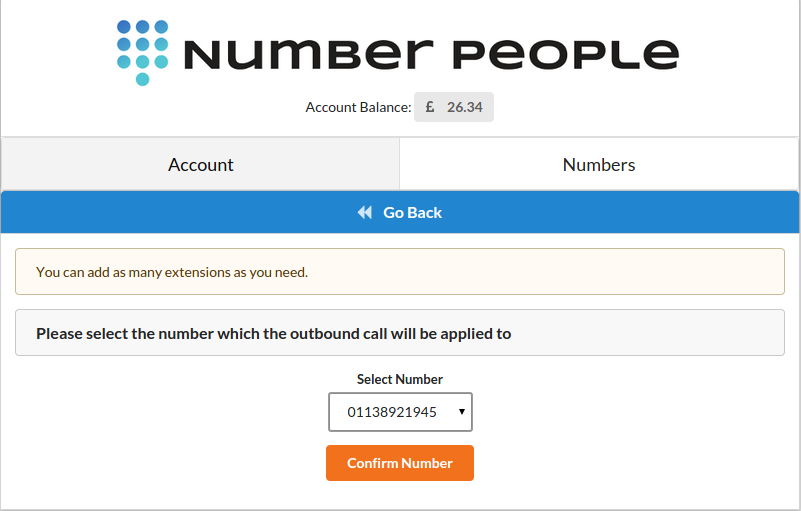
Step 5) You can then select which number to add the outbound calling extension to using the drop down menu displayed
Step 6) Once you have confirmed the purchase you will then be directed to the below screen.
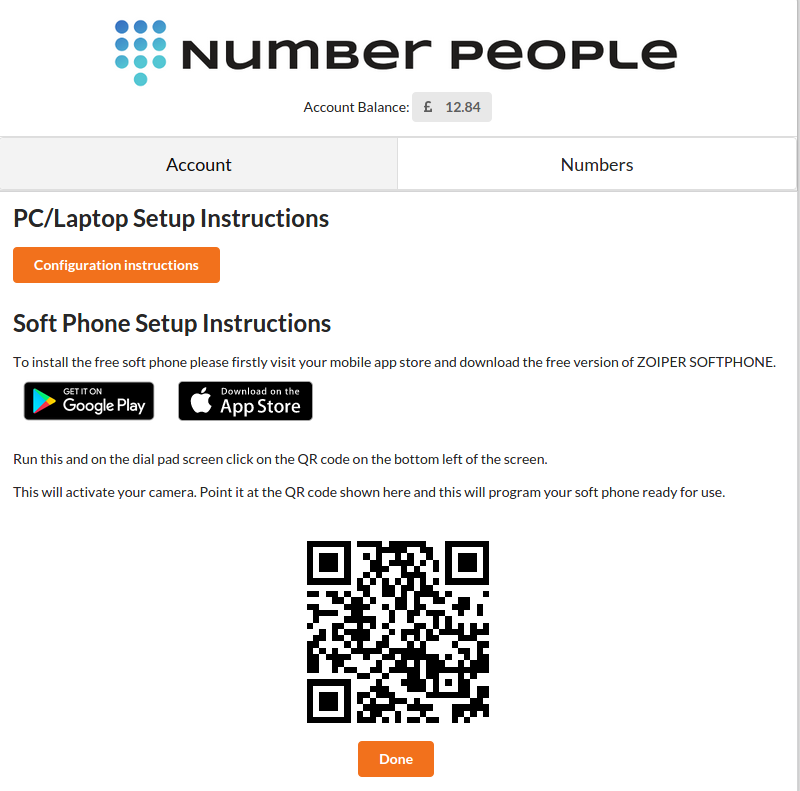
(for use on a PC/Laptop click on the “Configuration Instructions” and follow the FREE VERSION online setup)
At this point you will need to install the FREE VERSION of the ZoIPER app on your Smartphone. You will find this on the Google Play and App Store.

Once you have installed the ZoIPER app – you then need to scan the QR code displayed (do this by clicking on the QR icon on the top left hand side of the screen
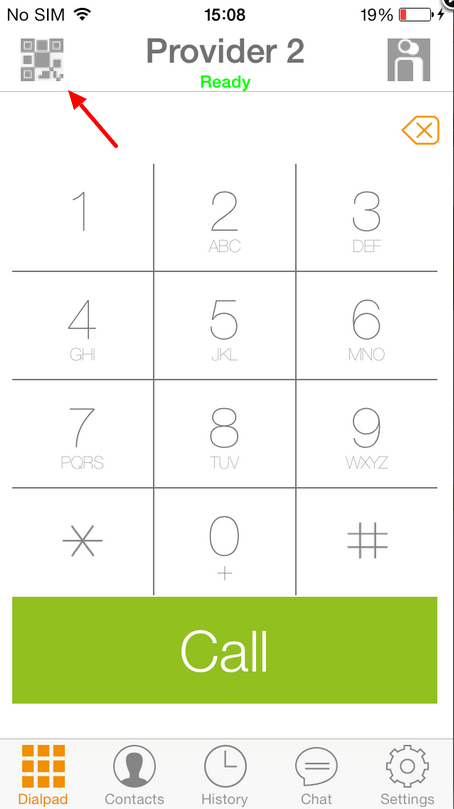
This will automatically configure the extension onto the application for you. You should now be able to use the application to make outbound calls.
iPhone Users
If you are using an iPhone please also follow these instructions.
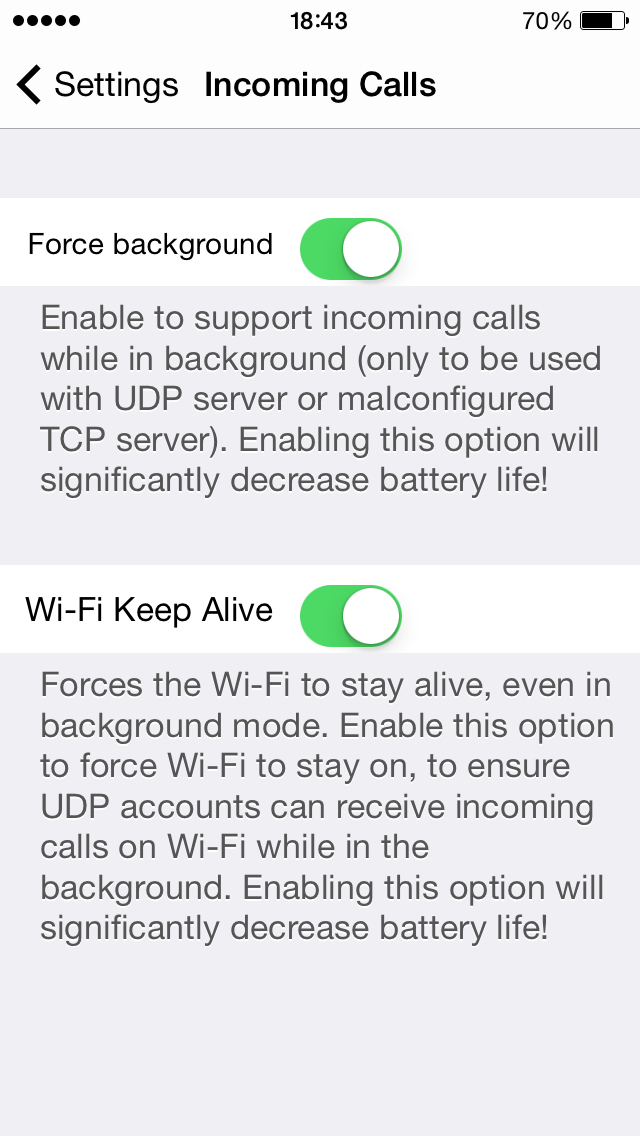
From the Zoiper Home screen, go to Settings > Incoming Calls and enable “Force background” and “Wi-Fi Keep Alive”
Please note, if you are using an iPhone, then Zoiper will not work while in low power mode.